An easy, playful hobby that satisfies both craft urges and snack-aesthetic cravings. We’ll keep it light, fun, and a little goofy as we melt clay into charming mini creatures. Strap in, because tiny dessert animals might just become your new favorite desk buddy.
Why Tiny Clay Animals Are Surprisingly Satisfying
Crafting small creatures from clay hits a sweet spot: it’s creative, portable, and endlessly repeatable. You can whip up a whole zoo of edible-looking critters without needing a single bite. Plus, the finish line—tiny, glossy, dessert-inspired sculptures—feels incredibly rewarding. FYI, the process is as soothing as binge-watching your favorite comfort show.
Choosing Your Clay and Tools
– Pick polymer clay for durability and color variety. It bakes to set hard, so your dessert animals stay cute and sturdy.
– Soft, buttery Sculpey or Fimo work great for beginners. If you’re more into sculpture, consider air-dry clay for mess-free crafting.
– Basic tools you’ll want: rolling pin, needle tool, small sharp knife, sculpting tools, and a clean workspace.
– Don’t forget the glaze. A glossy finish makes your “icing” pop and gives that dessert-dream sheen.
Tip: Work in small batches
Sticking to tiny targets prevents clay from drying out or getting muddy with fingerprints. If you’re new, aim for three mini creatures per session.
Designing Your First Tiny Dessert Animals
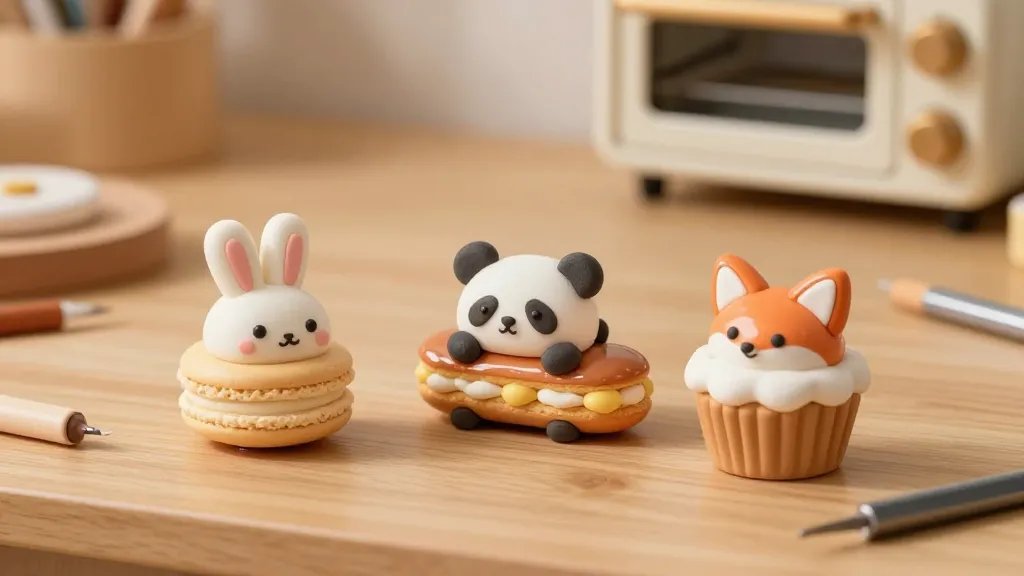
Think bite-sized, cute, and unmistakably delicious-looking. Start with simple shapes: a round body, a tiny snout, and a couple of ears or fins.
– Choose a dessert theme: cupcake bears, macaroon foxes, or donut-dragonflies.
– Sketch lightly with a toothpick to map out placement on the body.
– Layer color in stages: base color, accent details, then glaze.
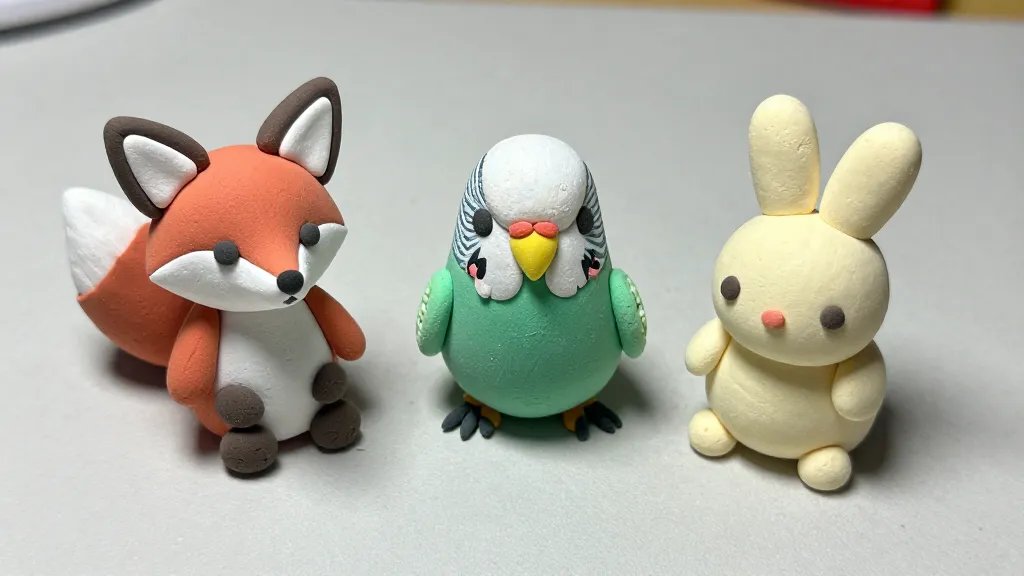
From Block to Character
Softly knead clay into a smooth ball, then shape limbs with thin ropes of clay. Attach with gentle pressure and a quick bake to set. If a piece seems stubborn, nudge with a tool and reattach—you’re basically a mini-sculptor with a sweet tooth.
Color, Texture, and Tiny Details
Texture sells the realism of a dessert creature. Add sesame-seed freckles, sprinkles, tiny wafer-thin ears, or sugar-crystal eyes.
– Use a sharp needle to etch tiny lines for fur or scales.
– Mix a touch of white with a dash of yellow for a buttercream highlight.
– Apply gloss glaze in small drops to imitate syrup or glaze drips.
– Don’t overcrowd the surface. A little negative space can make details pop.
glaze techniques to try
– Single-glaze gloss on the body for a smooth finish.
– Matte glaze on fur accents to create a dessert-meets-fabric look.
– Drip-glaze accents to simulate icing melting over edges.
Baking and Finishing The Look
– Follow your clay’s bake instructions exactly. Overbaking can crack tiny limbs; underbaking can leave pieces soft.
– Let everything cool fully before applying any glaze. Rushing here kills the shine you’re after.
– Seal with a thin final coat of glaze for durability. No one wants their jelly donut otter melting in humidity.
Safety and Clean-Up
Work in a well-ventilated area when baking, and wash tools promptly. Keep a little container of water for quick smoothing and cleanup between figures.
Display Ideas and Gift-Giving Worthy Presents
Your tiny dessert animals aren’t just desk decor; they’re conversation starters. Put them in clear boxes with tissue paper, attach a tiny bow, and you’ve got a charming handmade gift. Or create a mini dessert village on a tray—think a cookie-cake city with tiny pastry friends waving hello.
– Use a magnetic or micro-shelf display for easy rearrangement.
– Create a tiny dessert-themed scene: a cupcake house, a donut roundabout, a coffee-bean park bench.
– Photograph them with good lighting; these little guys photograph well and make amazing social posts.
Common Pitfalls and How to Avoid Them
– Pitfall: Cracking when baking. Fix: make sure pieces are not too thick, and heat gradually if your oven tends to spike.
– Pitfall: Slumping shapes. Fix: reinforce with a light wire or toothpick structure in larger pieces.
– Pitfall: Faded colors after baking. Fix: choose oven-safe polymer colors with strong pigments, and seal with a glaze.
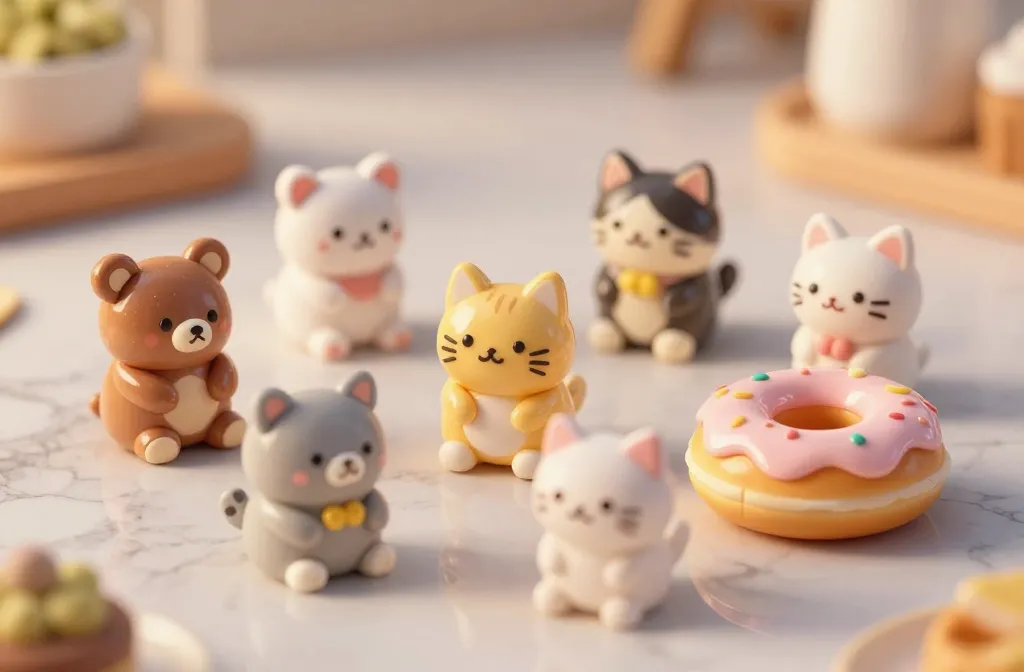
Showcase: Building a Tiny Dessert Menagerie
Turn your single character into a full lineup. Aim for 5–7 creatures with a cohesive dessert theme. This makes a visually interesting display and gives you practice on consistency.
– Start with a simple family: a muffin bear, a donut fox, a macaroon snail, a tart-finch.
– Decide on a color palette so everything looks planned, not random.
– Vary textures slightly to keep things visually appealing: gloss icing on some, matte fur on others.
How to Photograph Your Creations
Natural light beats lab lamps for true color. Keep the background simple, and shoot from slightly above to show the tiny details. A plain white plate or a wooden board makes the colors pop without distraction.
FAQ
Do I need expensive supplies to start?
You can begin with basic polymer clay, a simple set of sculpting tools, and a small glaze kit. You don’t need the fanciest gear to make adorable mini desserts. Start with what you have, and upgrade only if you love it enough to commit.
How long do these take to complete?
Depends on your pace and how intricate you go. A simple two-toned creature can take 20–40 minutes. A more detailed lineup might stretch to a few hours over several sessions. FYI, patience pays off here.
Is baking required for air-dry clay?
Air-dry clay doesn’t need heat, but it takes longer to cure. If you go with air-dry, plan for a full day or more for hardening, plus a finish coat of sealant.
How durable are these once finished?
Polymer clay creatures are quite durable with a glaze seal. They hold up to gentle handling and make cute, long-lasting decorations. Don’t toss them around, and avoid prolonged sun exposure to prevent color fading.
Can I customize for themed parties or gifts?
Absolutely. Design a mini dessert animal set tailored to a party theme—birthday, bridal shower, or baby shower. They’re unique, personal, and incredibly memorable.
Conclusion
Tiny dessert animals from clay are the perfect blend of creativity and whimsy. They let you play with color, texture, and form while delivering something charming enough to brighten a desk, a shelf, or a gift bag. If you’ve been hunting for a low-pressure craft that still feels stylish, you’ve found it. So grab some clay, pick a theme, and start sculpting your own little confectionery zoo. You’ll be surprised how quickly a few tiny figures can spark big smiles.


