An absolute clay newbie here? Great choice. Clay projects are low-stakes, instantly satisfying, and almost impossible to mess up—aka perfect for starting out. You’ll learn the basics, get comfy with your hands, and end up with cute things you can genuinely display or gift.
Start Here: Why Clay is the Perfect Starter Craft
– Clay is forgiving. If a shape isn’t perfect, you can trim, reshape, or glaze your way to something you’re proud of.
– It’s tactile therapy with immediate results. Pinch, roll, smooth—that instant feedback hooks you.
– There are no scary tools required. Your hands, some clay, a few basics, and you’re good to go.
– FYI: You’ll learn more as you go, not all at once. That means less frustration and more “aha” moments.
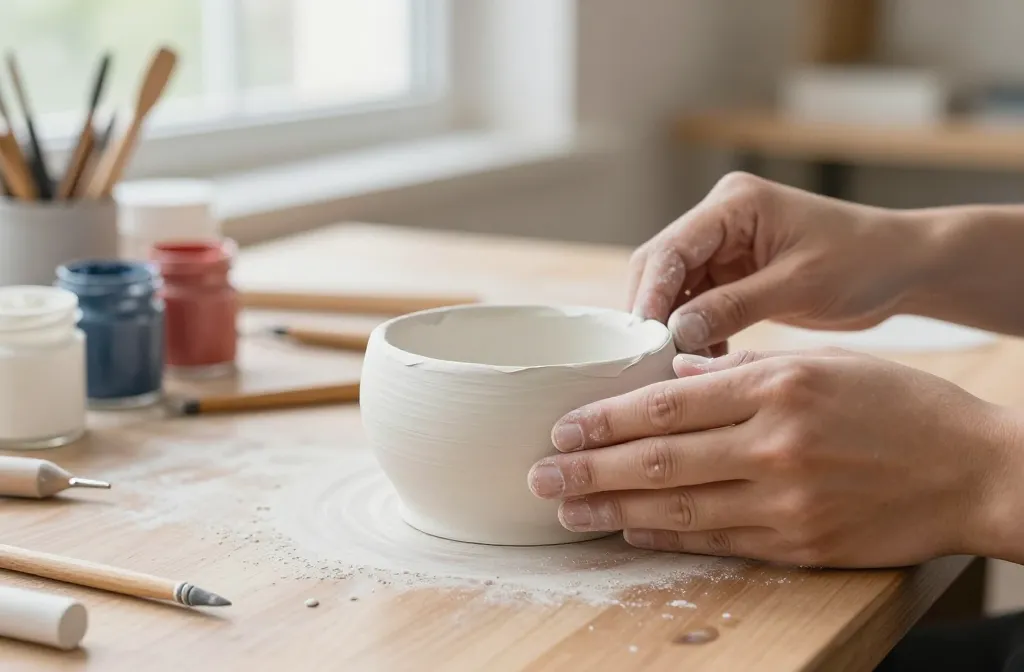
1. Pinch Pots: The Tiny Vessel That Teaches the Core Skills
If you’re new to clay, pinch pots are the gateway drug of ceramics—fun, quick, and surprisingly sturdy.
– What you’ll need: air-dry clay or kiln-fired clay, a smooth surface, water for smoothing, and a small bowl to shape around.
– Steps in a sentence: Start with a ball, poke a thumb into the center, and pinch the walls thin while rotating your pot.
– Quick win ideas: a tiny planters, Little catch-all bowls, or cute jewelry dishes with painted details.
– Pro tip: Don’t overthink it. The imperfect edges add personality.
Pro Tips for Pinch Pots
– Keep the walls 3-5 mm thick for durability.
– Use a damp finger to smooth seams; wipe away excess water as you go.
– Let dry slowly, then finish with paint or glaze to seal everything in.
2. Simple Slab Coasters: A Beginner-Level Board Game for Your Hands
Slab-building introduces structure without the drama of wheel throwing.
– Materials: slab-ready clay, a rolling pin, a ruler or a straight edge, and a sharp knife or scoring tool.
– Process: Roll out a even slab, cut into circles or squares, smooth the edges, and imprint a design or initials.
– Decoration ideas: stamp patterns, add a quick texture using fabric or textured rollers, or carve a tiny monogram.
Design Ideas That Wow
– Herb prints: press a dried leaf onto the slab for a nature-inspired coaster.
– Color blocks: create a marbled effect by layering two colors and slicing to reveal swirls.
– Personal touch: emboss your initials or favorite tiny doodles.
3. Clay Spoons or Small Utensils: Fun Functional Objects
Yes, you can make something you’ll actually use every day.
– What you’ll do: Roll a long coil or extrude a simple handle, then blend into a shallow spoon bowl with a smooth curve.
– Quick spin: Try a three-piece set—one spoon, one small fork, and one tiny scoop. It’s cute and practical.
– Finishing: Sand lightly when dry, then either paint with acrylics after sealing or glaze if you have a kiln.
Coiling Basics for Utensils
– Use a consistent thickness to avoid weak spots.
– Blend joints with your finger or a damp sponge to keep the piece sturdy.
– Don’t forget to test the handle’s comfort—no one likes a spoon that digs into their palm.
4. Cute Figurines: Express Yourself Without Stress
Figurines let you experiment with proportions, character, and personality.
– Start with animals or simple humans with oversized heads—more forgiving than precise anatomy.
– Add accessories like hats, glasses, or tiny props to give them stories.
– Drying tips: keep pieces small to prevent cracking; use a wire support for longer limbs.
Simple Character Build: Head-Body-Base
– Create a sphere for the head, a simple cylinder for the body, and a wide, flat base for stability.
– Attach with scoring and slip, then smooth connections with your finger.
– Paint or glaze after firing for extra charm.
5. Beads and Jewelry: Tiny Wins That Spark Joy

Beads are tiny, non-intimidating projects that rack up quick wins and cool accessories.
– Basics: roll tiny balls, then poke holes while the clay is still soft. Let dry, then string with leather, cotton, or metal findings.
– Variations: add textures with stamps, carve patterns, or combine different colors in a single bead.
– Quick jewelry set idea: a matching bead necklace and earrings set using two or three colors.
Bead-Making Shortcuts
– Use a needle to pre-poke holes when the clay is soft to keep holes round.
– Keep bead sizes consistent for a cohesive look.
– Seal with a clear glaze if you plan to wear or gift the pieces.
6. An Easy Glazing or Painting Routine (No Fear of The Finish)
Glazing or painting can feel intimidating, but you can master it with a tiny workflow.
– If you’re using air-dry clay: seal with a clear acrylic sealer or varnish to prevent smudges.
– If you have kiln-fired clay: apply glaze in thin layers and fire according to your clay’s guidelines.
– Color ideas: pastel gradients, bold single tones, or speckled textures for a playful vibe.
Simple Glaze Technique: The Dip Method
– Dip the top half of a small piece into glaze for a soft two-tone effect.
– Wipe the bottom edge for clean lines, and let dry completely between coats.
– Top tip: test glaze on a scrap piece to avoid surprises on your main project.
7. Safety and Setup: Make It Easy to Keep It Fun
No one wants a safety snarl to ruin the vibe.
– Workspace: protect surfaces with a silicone mat or parchment, keep tools organized, and ventilate if you’re sanding.
– Tools that help: a damp sponge, a silicone rib for smoothing, and a basic set of cutting tools.
– Drying: avoid direct sunlight or drafts that can cause cracking; give your pieces time to rest.
Frequently Asked Questions
What clay should a complete beginner start with?
Clay types vary, but air-dry clay is the friendliest for beginners. It doesn’t require a kiln and dries hard enough for small projects. If you have access to a kiln, polymer clay is another forgiving option that bakes in your standard home oven (read the label).
How long do these beginner projects take?
Most pinches, slabs, and bead projects take 30 minutes to a couple of hours, depending on your pace and drying time. Don’t rush the drying phase; rushing causes cracks and warping.
Do I need special tools?
Not at first. Start with a smooth finger, a damp sponge, a plastic knife, a rolling pin, and a simple cutting edge. You’ll discover what you like and add tools as you go.
How do I prevent clay from cracking?
Keep walls even in thickness, avoid overworking the clay, and dry slowly. If a crack shows up, you can sand, smooth, and patch with a little fresh clay slipped into the crack and blended.
Is glazing worth it for beginners?
Yes, glazing elevates your pieces with color and a durable finish. Start with a simple clear glaze or a couple of basic colors, then expand as you gain confidence.
What if my first pieces don’t look perfect?
Perfection isn’t the point here. You’ll build confidence with each project, learn from mistakes, and end up with pieces you’re proud of. IMO, the imperfect charm is part of the handmade magic.
Wrap-Up: Your First Clay Projects Are Waiting
If you’re itching to pick up clay and try something tangible today, you’ve got a low-risk, high-reward path. Start with pinch pots, move into slab coasters, and sprinkle in a few beads or a cute figurine. The key is to keep it fun, not precious—let your hands learn and your imagination run wild. So, which project are you trying first? IMO, start with a pinch pot and watch the tiny victory happen right in front of you. Happy crafting!


