An eye-catching little clay piece can spark big admiration when the shapes feel deliberate, not accidental. If your tiny sculptures wobble between rounded blobs and jagged edges, you’re not alone. Let’s get you crafting small clay models that look deliberate, polished, and oddly satisfying to handle.
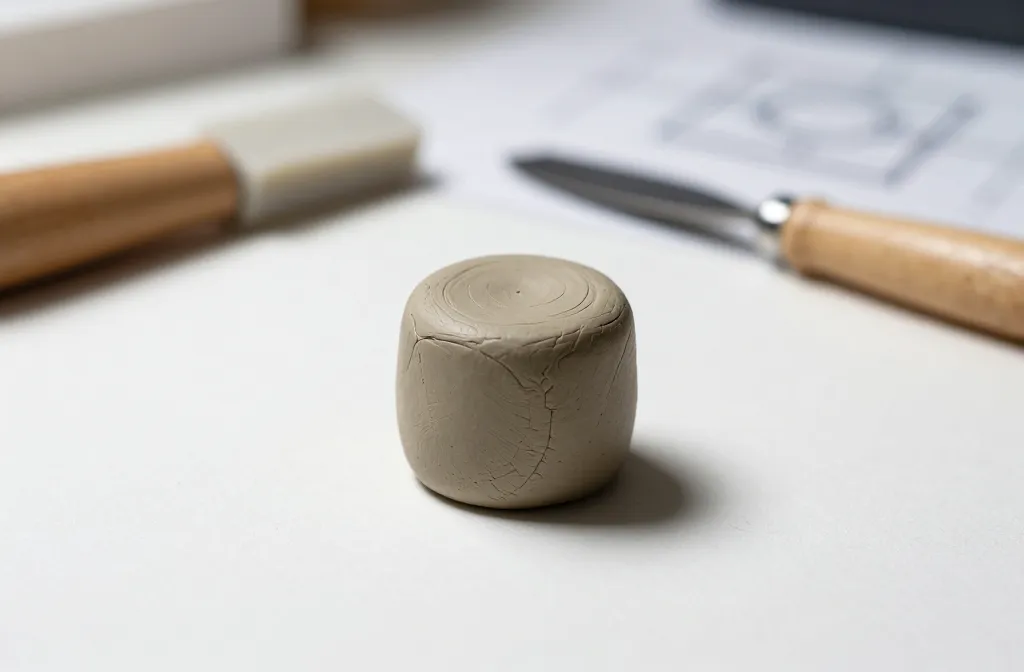
Know Your Baseline: Plan Before You Pinch
– Start with a simple blueprint. Even a rough sketch helps your hands know where to go.
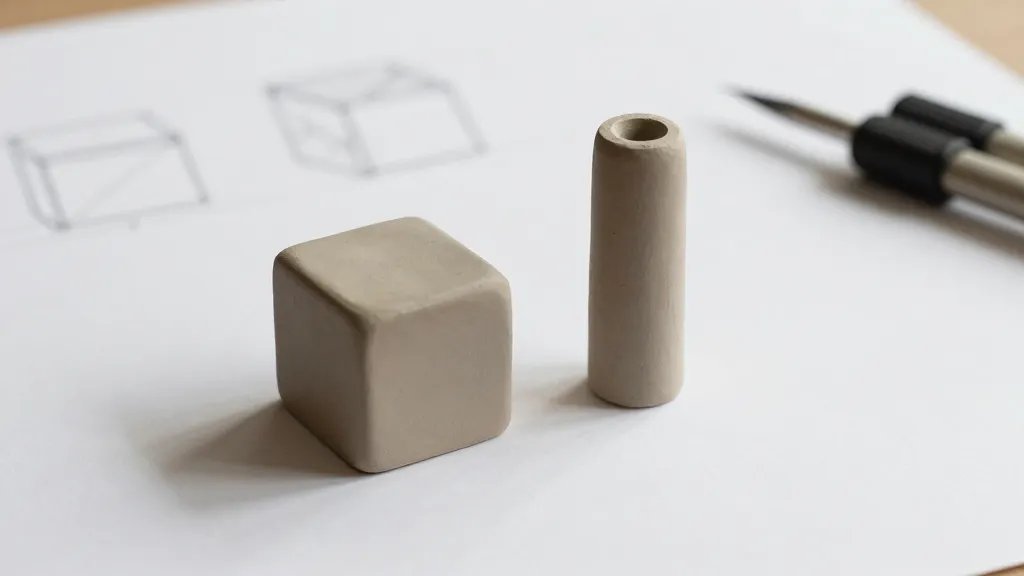
– Decide on one dominant shape per piece. A tiny cylinder? A cube? Let that shape guide every knot and curve.
– Ask yourself: what does this piece want to be? A mug, a creature, or a geometric charm? The answer sets the tone.
Sketch, Then Shape
If you’re a doodler, you’ll love this: sketch a quick silhouette, then translate it to clay. The transition should feel like tracing, not reimagining from scratch. You’ll save shape drift and keep edges clean.
Master The Tools: Cut, Blend, and Burnish
– Use a small clay blade for clean seams where pieces join.
– A wooden toothpick or needle tool helps create precise indentations without tearing.
– Burnish with a smooth pebble or your thumbnail to compress and seal edges.
Seams That Don’t Quit
Smooth seams by dampening your hands just enough to glide, not slip. Blend the edges in long, confident strokes. If you see a seam line after firing, you probably released too soon. FYI, patience here pays off big.
Proportions First, Details Second
– Get the scale right. Tiny models look off if a detail dwarfs the whole piece.
– Establish a ratio guide: head-to-body, length-to-width, etc. When you keep those ratios steady, your shapes read as intentional.
– Add details sparingly. 1-2 well-placed features beat a bunch of fussy details that muddle the silhouette.
Checking Proportions On The Fly
Compare your model to a quick reference ruler of your own making: a light cardboard frame or a photo of a similar object. If it looks off from three angles, adjust now.
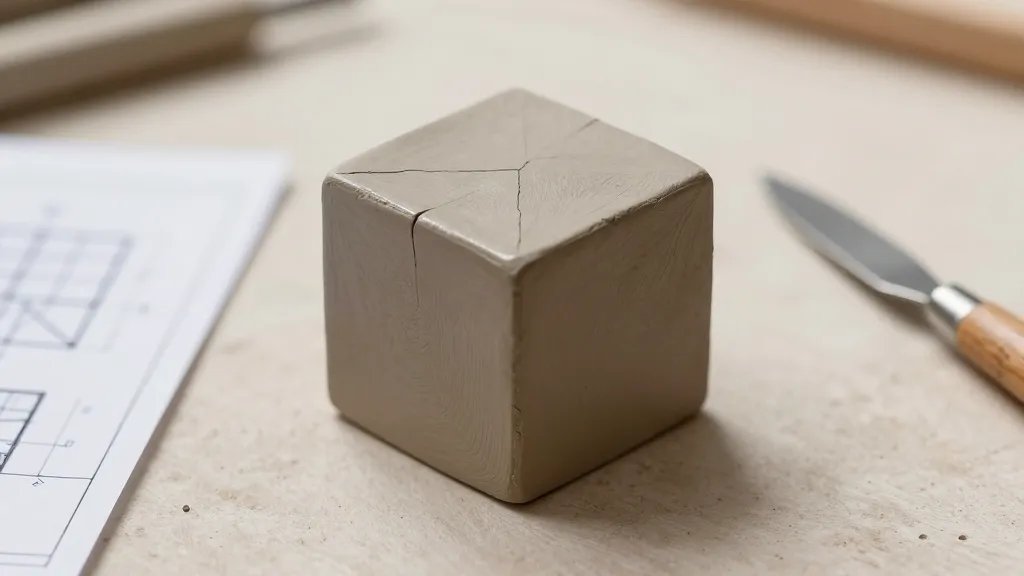
Geometry Hacks: Keeping Shapes Clean
– Use templates for repeated shapes. Cut cardboard stencils for circles, squares, or triangles you’ll reuse.
– Round corners gently. Over-sharp edges can look cartoonish on small pieces; soften them to feel tactile and real.
– Build in stages. Create a core silhouette first, then gradually add mass and details.
Layering Without Warping
Add parts gradually instead of stuffing a lot at once. Let each layer firm up before adding the next. This reduces warping and keeps your shapes crisp.
Chisel, Not Cheat: Carving Tiny Details
– Carve after the piece is leather-hard. If you wait too long, the clay cracks; too early, it smears.
– Use fine-point tools for micro-details like eyes or tiny grooves. Precision wins when your piece is this small.
– Texture wisely. A light stipple can suggest fur, fabric, or skin without overwhelming the silhouette.
Texture Tools That Don’t Overwhelm
A toothbrush for subtle speckles, a comb for lines, or a brush for soft fabric-like texture can all help without stealing the scene from your shape.
Finishing Touches: Surface, Color, and Seal
– Sand lightly between coats if you’re using air-dry clay. Don’t overdo it, or you’ll flatten your features.
– Paint with thin layers; multiple translucent washes create depth without clobbering the form.
– Seal with a clear finish suitable for your clay type. This keeps shapes looking consistent as you handle them.
Color Strategy For Consistency
Choose a small palette and stick with it. If your main shape is a cube, a consistent color treatment makes every angle feel like it belongs to the same family.
Common Pitfalls And Quick Fixes
– Pitfall: Fuzzy edges on tiny parts. Fix: smooth edges early; run a damp fingertip along the edge to tidy up.
– Pitfall: Warping after firing. Fix: keep pieces thin and balanced; support delicate bits during drying.
– Pitfall: Losing scale with texture. Fix: reserve heavy textures for larger pieces or apply sparingly.
Inspiration From Real-World Tiny Masters
Artists who work with miniatures often talk about embracing constraints. Small size forces clarity: fewer surfaces, fewer lines to track, more emphasis on silhouette. If you’re stuck, study a few tiny sculptures and notice how the core shape remains dominant even when detail increases.
Turning Quick Doodles Into Polished Pieces
– Start with a 2-minute sketch of the shape you want.
– Build the base form using that silhouette as your shield and guide.
– Add 1-2 key features that define the personality of the piece.
FAQ
Why do my tiny shapes look lopsided after drying?
Drying unevenly happens when the piece is thicker in some spots or when moisture moves too quickly. Keep thickness uniform, rotate the piece during drying, and cover loosely to slow drying evenly. If it still tilts, adjust by gently reshaping while leather-hard.
Is there a quick way to ensure my shapes stay proportional?
Yes. Create a simple proportional guide: a small postcard cutout with the main silhouette scaled to your piece. Reference it while you sculpt, and compare often from multiple angles. It becomes a habit that pays off.
What’s the best clay for tiny models?
Air-dry clay is forgiving and easy to work with for beginners. Polymer clay holds details nicely but requires baking. Choose what feels right for your setup and patience level. FYI, keep a tiny spray bottle handy to keep clay workable on hot days.
How do I prevent cracking in tiny parts?
Keep parts a bit softer (not bone-drittle) and avoid overworking too much clay into one area. If you notice a potential crack, reinforce from the inside with a tiny piece of clay or a wire pin to support the joint.
Should I seal tiny clay pieces?
Sealing is nice for longevity, especially if you handle them a lot. Pick a sealant compatible with your clay type and apply thin coats. It also helps maintain color consistency across different lighting.
Conclusion: Small Shapes, Big Impact
Tiny clay models are a playground of shapes, shadows, and subtle decisions. Start with a clear silhouette, keep proportions honest, and layer in details with restraint. The more you practice sticking to crisp shapes, the more your pieces will read as intentional design rather than happy accidents. Ready to shape your next micro masterpiece? Grab your clay, pick a dominant form, and go sculpt.


