An instant mood boost for your desk? Yep, you’re in the right place. Let’s whip up tiny clay pals that brighten your workspace and spark joy with zero drama.
Why Tiny Clay Desk Buddies Are Your Secret Power Move
Tiny desk buddies aren’t just cute; they’re momentum boosters. When your brain hits a creative wall, a mini friend can reset your focus and make tasks feel less like chores. Plus, they’re a fantastic conversation starter during meetings or Zoom calls. FYI, these little guys travel well too—great desk companions for travelers, students, and remote workers alike.
What You’ll Need to Get Started
Before you dive in, gather these basics:
- Air-dry or polymer clay (assorted colors)
- Clay tools or simple household substitutes (toothpicks, plastic knife)
- Glass jar or small tray for drying
- Fine sandpaper or a soft nail file for smoothing
- Acrylic paint and a fine brush (optional for details)
- Clear sealant or gloss varnish (optional for shine)
Kit tips: start with a palette of 4-6 colors. You’ll thank me later when you’re not mixing a thousand shades for a tiny hat.
Choosing Your Mini “Buddies”
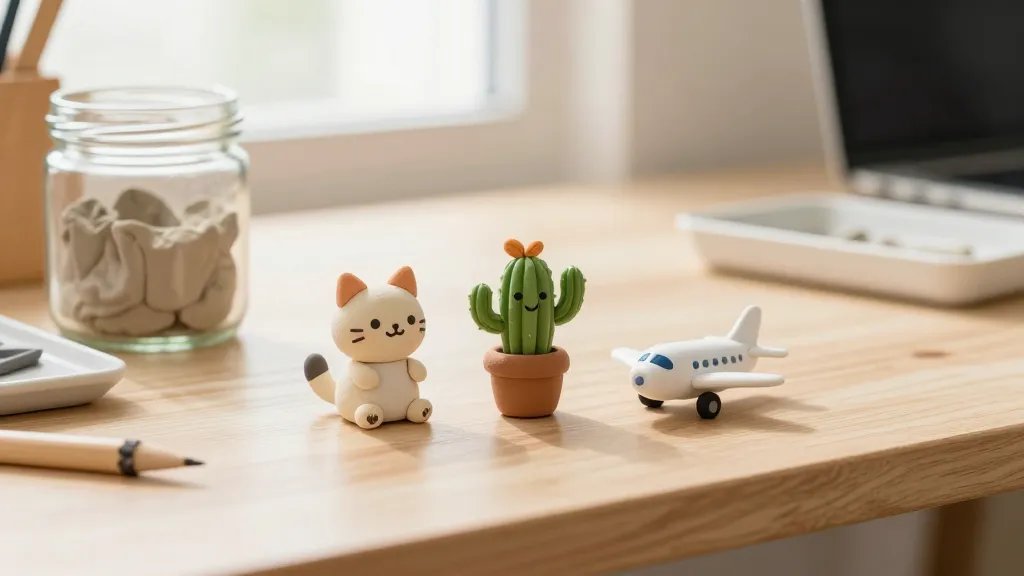
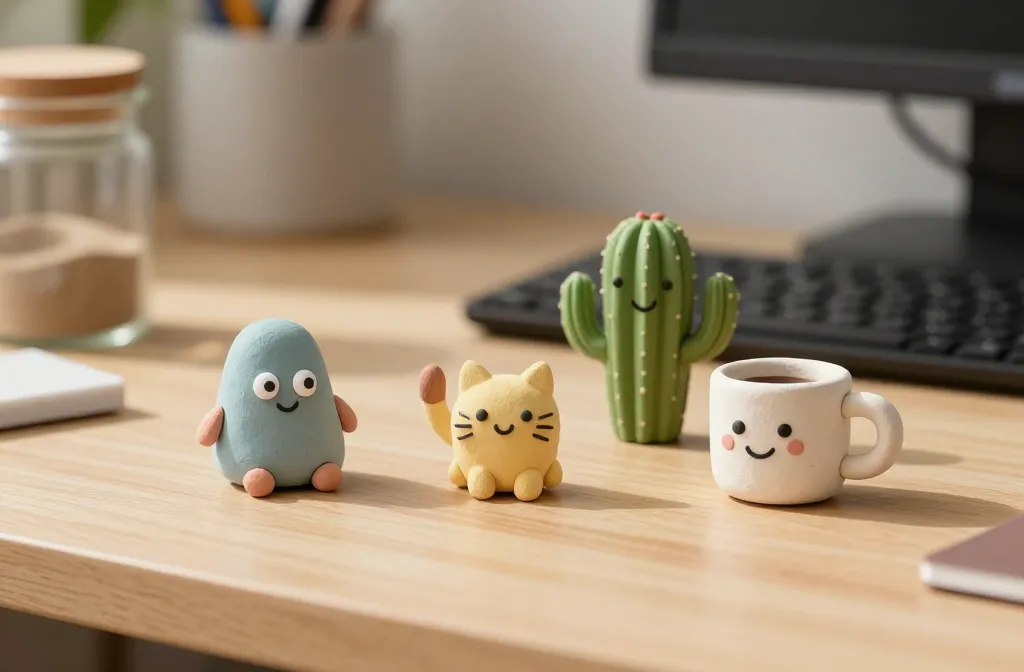
Think creatures that spark joy and aren’t a total diva to make. Here are some crowd-pleasers:
- Friendly blob with eyes (easy peasy intro)
- Mini cat or dog with a wagging tail pose
- Smiling cactus buddy—green thumbs not required
- Quirky coffee cup with a cheeky face
- Happy plant pot with a tiny fern sprout
If you’re feeling extra, you can make a tiny office crew: a mug, a pencil, a tiny stapler. The more ordinary items you morph into cuteness, the better.
Step-by-Step: Crafting Your First Buddy
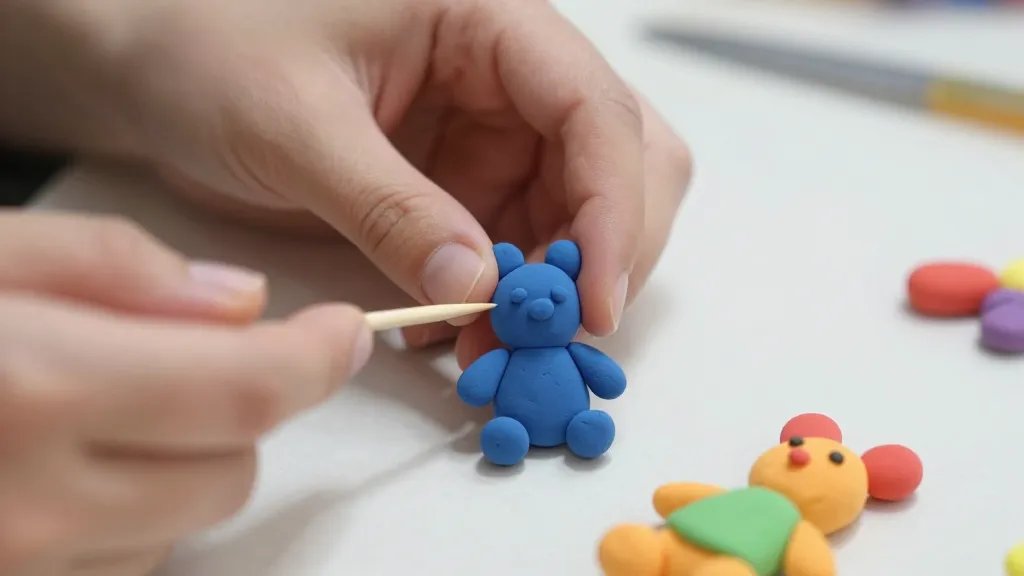
- Condition the clay: Knead until soft and pliable. This prevents cracking later on.
- Shape a simple body: Start with a rounded oval for the torso or blob—no perfection required.
- Add features: Tiny eyes, a smile, and little arms or accessories. Don’t overthink; character beats realism.
- Detail and texture: Use a toothpick to add stitching on a sweater or texture on a hat.
- Dry time: Let air-dry completely (follow your clay’s instructions). Overnight is a safe bet.
- Finish: If you want shine, apply a coat of clear sealant. You’ll thank yourself for the extra durability.
Pro Tip: Keep It Simple
If you’re new, start with a blob-with-a-face. It’s a guaranteed win and builds confidence for more ambitious projects later.
Bringing Your Buddies to Life: Fun Details
Add personality with tiny accessories:
- Mini scarf or hat for seasonal vibes
- Bookmark-sized glasses for a nerdy chic look
- Small plant sprout or backpack for an office vibe
Detailing tricks:
- Use a sharp needle or pin to carve quick lines for clothing seams
- Paint tiny dots for freckles or cheeks to give character
- Seal the surface for durability and to prevent smudges
If you’re unsure about coloring, plan a color palette first and stick to it. Consistency makes your little crew look polished.
Display Ideas: Show Off Without Clutter
Your mini crew deserves a stage. Try these display options:
- Desk tray with a soft matte background to reduce glare
- Small glass dome for a museum-worthy vibe
- Leaf-like corkboard under glass for a playful gallery
Placement tips: group by vibe (cute, quirky, chic) and vary heights with tiny stands or stacks of coins. It creates a visually appealing micro-scene without stealing your entire desk’s thunder.
Maintenance and Longevity
To keep your buddies looking fresh:
- Let them dry completely before displaying to avoid sticking to surfaces
- Acrylic sealant adds durability against dust and fingerprints
- Avoid excessive heat or direct sunlight to prevent warping
If something goes wonky, you can rework small parts or repaint details after they’ve dried. The beauty of clay? It’s forgiving.
Dealing with Common Wobbles
– Cracked surfaces? Smooth with a little water and rework the area, then re-seal.
– Fading colors? Add a fresh coat of paint or shift to a brighter color palette.
– Sticky finish? Ensure clay is fully dry before sealing; otherwise, you’ll trap moisture and cause issues.
Involving Friends and Family: A Quick Challenge
Turn this into a mini crafting party:
- Set a palette and time limit for a “bud-dash” session
- Offer small rewards for the most creative buddy
- Share tips and techniques live in a group chat or during a video call
IMO, collaborative crafting makes the process more fun and the results more varied. Plus, you’ll end up with a desk that looks like it belongs in a cozy studio.
FAQ
Do I need fancy clay to start?
Not at all. Start with affordable air-dry clay or basic polymer clay. You can always upgrade later as you get more comfortable.
How long do these mini buddies last?
If kept away from moisture and stored properly, they’ll keep their charm for quite a while. Sealing helps them stand up to daily desk life.
Can kids join in on this project?
Absolutely. It’s a fantastic beginner-friendly craft that teaches patience and a bit of design thinking. Just supervise the use of paints and tools.
What’s the easiest buddy to make?
A smiling blob with eyes is the ultimate starter. It teaches balance, expression, and proportion without heavy complexity.
How do I prevent clay from sticking to the workspace?
Work on a silicone mat or parchment paper. Lightly oil the mat if you’re using polymer clay, and always let air-dry clay fully cure before sealing.
Conclusion: Your Tiny Desk Army Starts Now
Mini clay desk buddies bring personality to your workspace without demanding attention or stealing your focus. They’re quick to make, surprisingly satisfying, and endlessly customizable. Whether you’re aiming for a wholesome squad of mugs, cacti, and pals or a tiny office crew, you’ve got the blueprint. So grab your clay, choose a palette, and start shaping your tiny vibe today. IMO, you’ll love the little chaos these buddies bring to your desk, both visually and vibe-wise. If you finish a set, share a pic and tag a friend who needs a creative splash in their day.


