
Making your own soap at home is a rewarding and creative endeavor that allows you to control the ingredients and customize scents, colors, and textures to your preference.
Whether you’re looking to craft personalized gifts or ensure the use of natural products on your skin, learning how to make homemade soap is a valuable skill.
Understanding the Basics of Soap Making
Soap is the result of a chemical reaction called saponification, where fats or oils combine with an alkali (commonly lye) to produce soap and glycerin.
There are several methods to make homemade soap, each with its own set of steps and considerations.
1. Cold Process
This traditional method involves mixing oils and lye, allowing the soap to cure over several weeks.
It’s ideal for those who want to create soap from scratch and have control over all ingredients.
2. Melt and Pour
A beginner-friendly technique where you melt a pre-made soap base, add your desired fragrances and additives, and pour it into molds. This method doesn’t require handling lye, making it safer and quicker.
3. Hot Process
Similar to the cold process but involves cooking the soap mixture, which speeds up the saponification process. The soap is ready to use sooner but has a more rustic appearance.
4. Rebatching
This involves grating and melting pre-made soap, then adding new ingredients. It’s useful for correcting batches or incorporating delicate additives that might not survive the saponification process.
Essential Ingredients and Equipment
To make homemade soap, you’ll need:
- Oils/Fats: Common choices include olive oil, coconut oil, palm oil, and shea butter.
- Lye: Sodium hydroxide for bar soap or potassium hydroxide for liquid soap.
- Distilled Water: Used to dissolve the lye.
- Additives: Essential oils for fragrance, natural colorants, exfoliants like oatmeal or poppy seeds.
- Equipment: Digital scale, heat-resistant containers, thermometer, stick blender, soap molds, safety gear (gloves and goggles).
Step-by-Step Guide to Making Cold Process Soap
Here’s a simplified overview of the cold process method:
- Prepare Your Workspace: Ensure it’s well-ventilated and free from distractions.
- Measure Ingredients: Accurately weigh your oils and lye.
- Mix Lye Solution: Slowly add lye to water (never the other way around) and stir until dissolved.
- Heat Oils: Melt solid fats and combine with liquid oils, then cool to the appropriate temperature.
- Combine Lye and Oils: Once both are at similar temperatures, slowly mix the lye solution into the oils.
- Blend to Trace: Use a stick blender until the mixture thickens to a pudding-like consistency.
- Add Fragrances/Additives: Incorporate any essential oils, colorants, or exfoliants.
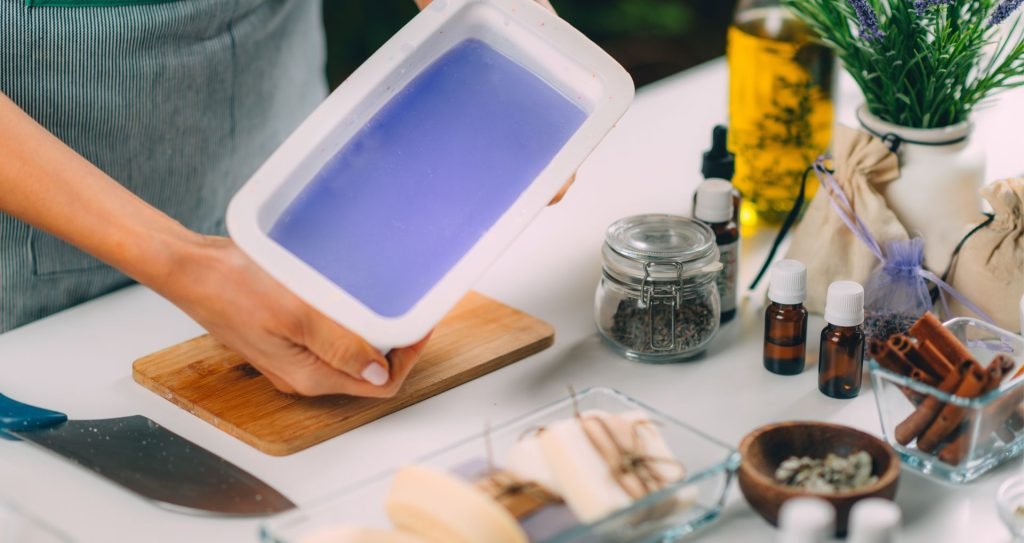
- Pour into Molds: Transfer the mixture into prepared molds and insulate them.
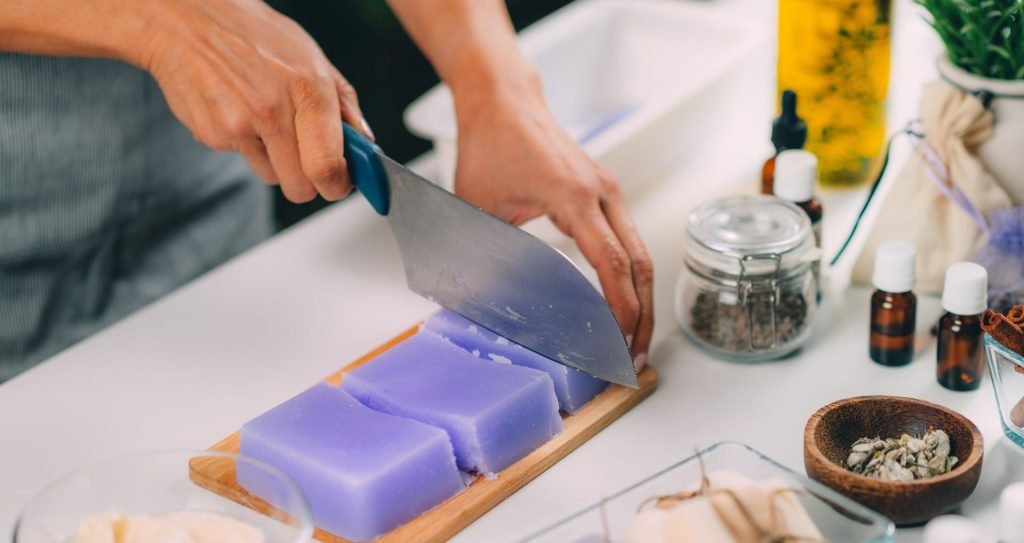
- Cure the Soap: After 24-48 hours, unmold and cut the soap. Allow it to cure for 4-6 weeks in a cool, dry place.
Tips for Successful Soap Making
- Safety First: Always wear protective gear when handling lye.
- Accurate Measurements: Use a digital scale for precise ingredient measurements.
- Temperature Control: Ensure oils and lye solution are at similar temperatures before mixing.
- Experiment: Once comfortable, try different oils, scents, and additives to create unique soaps.
Homemade Soap Kits
Exploring Melt and Pour Soap Making
For those new to soap making or looking for a simpler method, melt and pour is an excellent choice.
Steps:
- Cut Soap Base: Chop the pre-made soap base into small pieces.
- Melt: Use a microwave or double boiler to melt the soap base gently.
- Add Ingredients: Incorporate fragrances, colorants, and other additives.
- Pour into Molds: Transfer the mixture into molds and let it cool and harden.
- Unmold and Use: Once solidified, remove the soap from molds, no curing time needed.
Customizing Your Homemade Soap
Personalize your soap by experimenting with:
- Essential Oils: Lavender for relaxation, peppermint for invigoration, or tea tree for its antiseptic properties.
- Natural Colorants: Spirulina for green, turmeric for yellow, or activated charcoal for black.
- Exfoliants: Oatmeal, coffee grounds, or poppy seeds add texture and skin benefits.
Final Thoughts
Learning to make homemade soap is a fulfilling craft that combines science and creativity.
Whether you choose the cold process for complete control or the melt and pour method for simplicity, the result is a personalized product tailored to your preferences.
With practice and experimentation, you’ll master the art of soap making and enjoy the satisfaction of using your handcrafted creations.
For a visual guide on soap making, you might find this tutorial helpful:


