Unlock Your Creative Potential
Are you ready to venture into the exciting world of digital art? Whether you’re a curious beginner or a seasoned doodler looking to enhance your skills, digital art offers endless opportunities for creativity and expression. With the right tools and guidance, you can bring your artistic visions to life!
In this article, we’ll explore five essential digital art tutorials that are perfect for anyone eager to unlock their creative potential. Each tutorial focuses on a different aspect of digital art, so you’ll be able to find the perfect starting point for your journey.
From creating stunning illustrations and mastering digital painting in Photoshop to designing eye-catching graphics in Canva, and even animating your artwork with After Effects, we’ve got you covered! Let’s dive in and ignite your passion for artistry!
Getting Started with Digital Art: The Basics
Embarking on your digital art journey can feel both thrilling and a little overwhelming. The good news is that the fundamentals are quite approachable with just a bit of guidance. Whether you aspire to create breathtaking landscapes, whimsical character designs, or vibrant abstract pieces, understanding the basic components of digital art is crucial.
Essential Tools for Digital Art
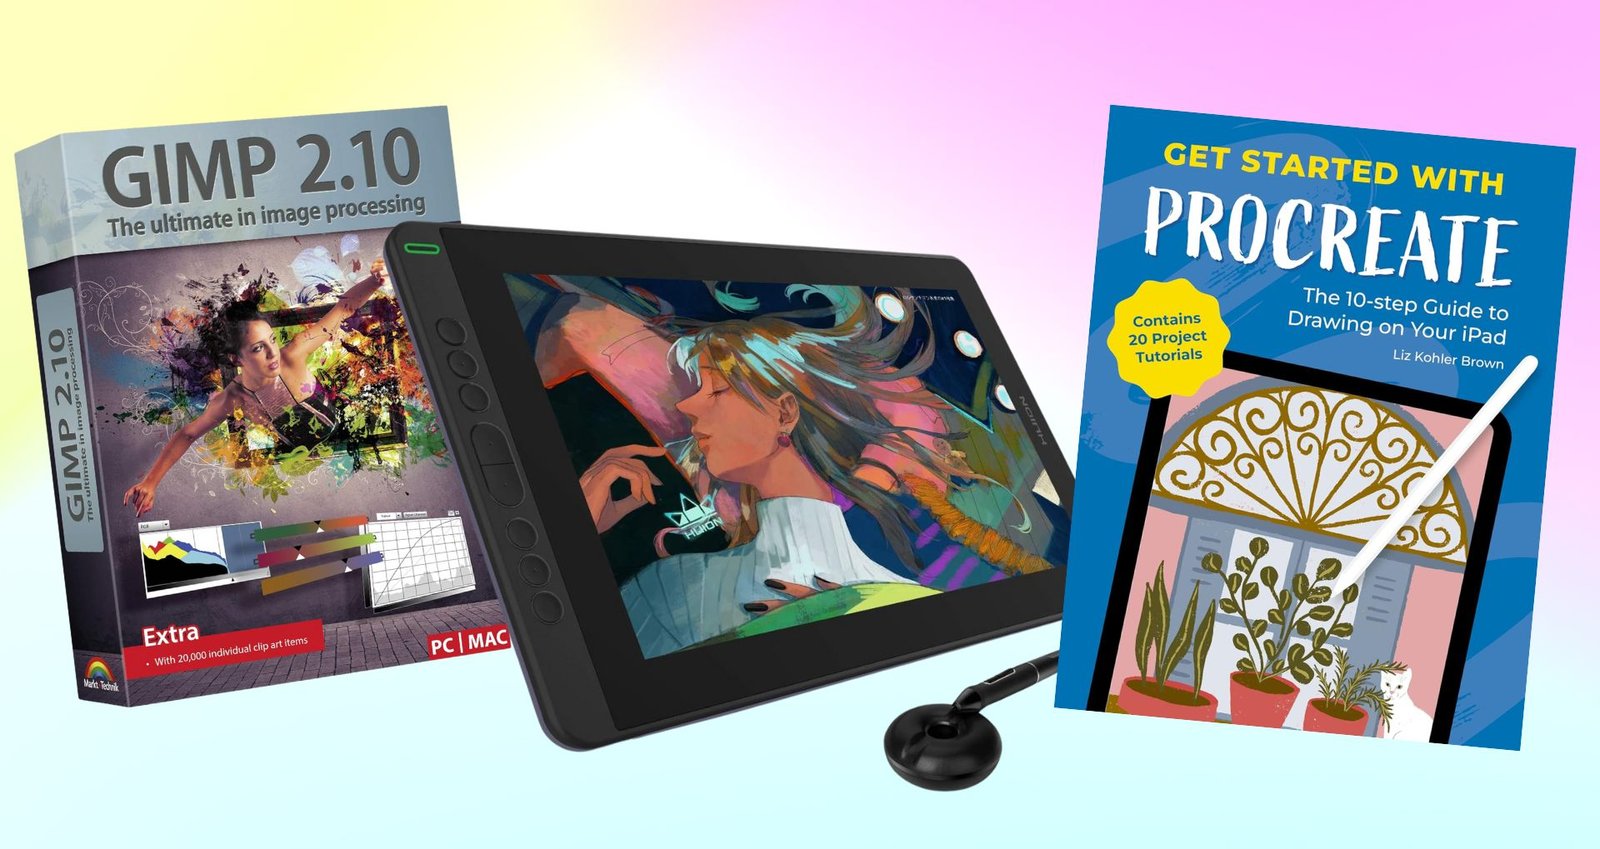
To get started, you’ll need some key tools and materials. Here’s a quick rundown:
Software Options
Once you have your tools, it’s time to choose the software that best fits your style and needs:
Basic Techniques to Get Started
Before diving into complex projects, familiarize yourself with some foundational techniques:
- Layering: Understanding layers is vital. They allow you to keep different elements of your artwork separate, making editing and adjustments easier.
- Brush Techniques: Experiment with different brush types and settings. Each can dramatically change the texture and flow of your artwork.
- Color Theory: Understanding how colors interact will elevate your art. Practice mixing colors digitally to see what combinations speak to you.
- Practice, Practice, Practice: Regularly spending time drawing will not only improve your skills but also build your confidence. Try daily sketches or themed challenges to keep your creativity flowing.
Armed with these tools, software options, and techniques, you’re well on your way to creating stunning digital art. In the next section, we’ll delve deeper into a fantastic application for creating stunning illustrations: Procreate! Get ready to unleash your imagination.
Creating Stunning Illustrations with Procreate
Welcome to the vibrant world of Procreate, an exceptional app that has captured the hearts of digital illustrators everywhere! This powerful tool offers unmatched flexibility and an intuitive interface, making it perfect for both beginners and seasoned artists alike. In this section, we’ll outline a tutorial that will guide you through creating stunning illustrations, complete with practical tips on utilizing brushes, layers, and color palettes.
Let’s Get Started!
First off, ensure you have Procreate downloaded on your iPad. Once you open the app, you’ll be greeted by a clean canvas. Here’s how to make the most out of it:
- Brush Selection: Procreate comes with a wide array of brushes, each serving a different purpose. To get started, tap on the brush icon in the upper right corner and explore the categories. For illustrations, try the “Sketching” or “Inking” brushes for line work and some of the “Painting” brushes for coloring.
- Setting Up Layers: Layers are your best friend in Procreate. Head to the Layers menu (the two overlapping squares icon) to create a new layer for each element of your illustration. For example, keep your sketch on one layer and your colors on another. This setup makes it easy to adjust or edit individual components without affecting the whole picture.
- Tip: To make the drawing process smooth, lower the opacity of your sketch layer so it won’t interfere with your coloring.
- Choosing Your Color Palette: Color can make or break your illustration. Procreate lets you create custom palettes: tap on the color circle icon, then select “Color Palette.” You can pick colors that complement each other by experimenting with shades. Consider using analogous or monochromatic schemes for a more cohesive look.
Bringing Your Illustration to Life
Once you’ve set up your canvas, it’s time to start illustrating! Use your selected brushes to lay down shapes and lines. Don’t be afraid to experiment with different pressures: Procreate’s brush response mimics traditional media, providing natural variations that can enhance your artwork.
Final Touches and Exporting
Before finishing, zoom out to see how your illustration looks from a distance. Make any necessary adjustments. Once satisfied, export your work by tapping on the wrench icon, selecting “Share,” and choosing your preferred file format (PNG or JPEG for images).
The beauty of Procreate lies in its user-friendly design and endless creative possibilities. The more you practice, the more you’ll develop your unique style. It can be overwhelming at first, but take your time, explore, and most importantly, enjoy the process!
In our next section, we will dive into mastering digital painting techniques in Photoshop, where you can take your skills to a whole new level! Stay tuned!
Mastering Digital Painting Techniques in Photoshop
As you transition from creating illustrations in Procreate, it’s time to explore the powerful world of digital painting in Photoshop. Renowned for its versatility and extensive features, Photoshop unlocks a realm of creative potential for artists looking to master blending, shading, and texturing. Let’s dive into a step-by-step tutorial designed to help you create your first digital painting from scratch!
Setting Up Your Canvas
- Launch Photoshop and Create a New Document: Start by selecting
File > New. Choose the dimensions you’d like for your artwork, but a common starting size is 2000 x 2000 pixels at 300 dpi to ensure high resolution. - Understand Your Interface: Familiarize yourself with the tools available in the workspace. Essential tools for digital painting include the Brush Tool (B), the Color Picker, and the Layers panel.
Basic Painting Techniques
To create a compelling digital painting, you’ll need to master the following techniques:
1. Blending
2. Shading
3. Texturing
Practical Exercise: Create Your First Digital Painting
Now that you’re familiar with basic techniques, let’s put your skills to the test with a simple exercise:
- Choose a Subject: It could be anything from a character to a serene landscape.
- Sketch Your Design: Start on a new layer with a rough sketch of your subject. Keep it loose; precision isn’t necessary at this stage.
- Add Base Colors: On a new layer underneath your sketch, fill in base colors using the paint bucket or brush tool.
- Paint Shadows and Highlights: Begin the blending and shading process, layering shadows and highlights for depth and dimension.
- Final Touches: Once your painting is complete, add any details, adjust the overall color balance, and consider using filters to enhance your artwork further.
Digital painting opens up a world of creative possibilities, and Photoshop provides the tools to refine your skills and enhance your artwork. With patience and practice, you’ll learn to develop your own unique style and storytelling techniques through your paints.
In our next section, we shift our focus to designing eye-catching graphics with Canva—a perfect tool for artists wishing to add a graphic design twist to their repertoire! Stay tuned!
Designing Eye-Catching Graphics with Canva
In today’s digital age, creating visually engaging graphics is more important than ever. Whether for social media, marketing materials, or personal projects, Canva makes graphic design accessible to everyone. In this section, we’ll explore how to harness Canva’s features to craft stunning graphics that grab attention and convey your message effectively.
Getting Started with Canva
First things first—if you haven’t yet signed up for Canva, it’s a simple process. Visit the Canva website or download their app, create an account, and dive into a world of design possibilities! The intuitive drag-and-drop interface enables you to design without extensive training.
Here’s how to get rolling with Canva:
- Choose a Template: Once you log in, you’ll find thousands of templates across different categories—social media posts, presentations, flyers, and more. Start by choosing a template that matches your project’s needs. This gives you a solid foundation and helps you visualize design possibilities.
- Customizing Your Design: Click on the elements within the template to change text, colors, and images. Canva provides a vast library of free images, icons, and fonts to choose from. Use them to align your design with the vibe of your brand or project.
Layout Principles for Effective Design
While Canva makes designing easy, a good understanding of layout principles enhances your graphics considerably. Here are a few key pointers:
Adding Creative Flair
Once you have the basics down, it’s time to add your unique touch. Consider these techniques:
Exporting Your Designs
Once you’re satisfied with your creation, exporting is a breeze. Click the “Share” button in the top right corner. Canva offers multiple formats for download, such as PNG, JPG, and PDF. Choose the one that fits your needs—whether it’s for print materials or digital sharing.
In just a few clicks, you can take your designs from concept to reality and share them with the world. The beauty of Canva lies in its versatility and user-friendliness; even if you’re new to graphic design, you can create compelling visuals with confidence.
With your newfound skills in creating eye-catching graphics with Canva, we’ll next explore how to bring your artwork to life through animation in After Effects. Get ready to add that wow factor to your creations!
Animating Your Artwork: A Beginner’s Guide to After Effects
Animation breathes life into your artwork, transforming static images into dynamic visuals that evoke emotion and tell stories. Adobe After Effects is the industry standard for motion graphics and animation, making it an exciting tool for artists looking to explore this dimension of creativity. In this section, we’ll introduce you to the basics of animating your illustrations, allowing you to take your digital art to the next level.
Getting Started with After Effects
First, ensure you have Adobe After Effects installed on your computer. Once you launch the application, you’ll find a user-friendly interface designed to facilitate your creativity. Here’s how you can kickstart your animation journey:
- Create a New Project: When you open After Effects, select
File > New > New Project. This is where you’ll house all your animation assets. - Import Your Artwork: Go to
File > Import > Fileto bring in the illustrations you want to animate. Whether you’re using assets from Photoshop or Illustrator, After Effects supports a variety of file types. - Setting Up Your Composition: Create a new composition by selecting
Composition > New Composition. Here, you can choose your desired resolution and duration. For instance, a standard size for social media animations is 1080 x 1080 pixels.
Basic Animation Techniques
Now, let’s dive into some basic animation techniques that can dynamically enhance your illustrations.
1. Position and Scale Animation
P for position or S for scale to reveal the respective properties in the timeline. Click the stopwatch icon next to either property to create your first keyframe.2. Opacity Animation
Animating the opacity of your layers can create stunning fade-in or fade-out effects.
T to reveal the opacity property. Set your initial keyframe at 0% (transparent) and another at 100% (fully visible) over your desired timeline. This can be particularly striking for transitioning between scenes.3. Rotational Animation
This technique adds flair, especially for elements meant to spin or tilt.
R to bring up the Rotation property. Similar to position and scale, add keyframes for a smooth rotation effect over time. Practical Exercise: Create a Simple Animation
Now that you have the basics down, let’s animate a simple illustration:
- Select a Subject: Choose an illustration with distinct elements (like a character or object).
- Import and Set Up Layers: Import your artwork and separate the elements into layers if needed (like separating a character’s arms and body).
- Add Keyframes: Use the techniques above to add movement to your characters or objects. For instance, you might animate the character waving by adjusting the arm’s position over time.
- Preview Your Animation: Hit the spacebar to preview your animation. Adjust the timing and movements by repositioning keyframes in the timeline until you’re happy with the flow.
- Export: Once you’re satisfied, go to
Composition > Add to Render Queueand select your desired format for export.
Animating artwork opens up a delightful realm of creativity, and After Effects equips you with all the tools you need to enhance your designs. As you hone your skills, remember that practice is key—experiment with different animations, timings, and effects to find what resonates with your style.
Having explored the dynamic world of animation, we’re ready to conclude our creative journey and reflect on how far you’ve come in your digital art venture. Let’s embrace the possibilities that await!
Embrace Your Digital Art Journey
As you embark on your digital art adventure, remember that the path to creativity is a continuous exploration. The tutorials provided are just the beginning; each stroke of your stylus is a step toward unlocking your unique artistic voice. Practice diligently, experiment fearlessly, and don’t shy away from mistakes—they’re often the best teachers.
Every seasoned artist started as a beginner, so be patient with yourself. Embrace the challenges and celebrate your progress, no matter how small. Now, grab your tools and dive into the world of digital art! Your creative potential is waiting to be unleashed, so let your imagination flourish and make your mark. Happy creating!


